


A franking machine is designed to allow you to send mail easily by automatically calculating accurate postage prices. Using a franking machine saves you money not only through the reduced prices but also by eliminating the possibility of human miscalculation of postage charges.
The amount of time spent sorting the mail will also be reduced, freeing up employees to focus on other jobs. This is all brilliant for you and your business but how does a franking machine actually work? It may seem daunting when you’ve never used one before but don’t worry because it’s a surprisingly easy and straightforward process.
Franking Machine: Initial Setup
First of all, the machine needs to be set up and ready for use. It should already be set up and ready to use when you buy it but it is worth a final check before you begin. This means the ink cartridge should be in place, the tariff list should be up to date, and you should have any extras you may require (for example you will need labels for larger packages). If all of this is in order then you are ready to frank your mail.
Let’s Get Franking!
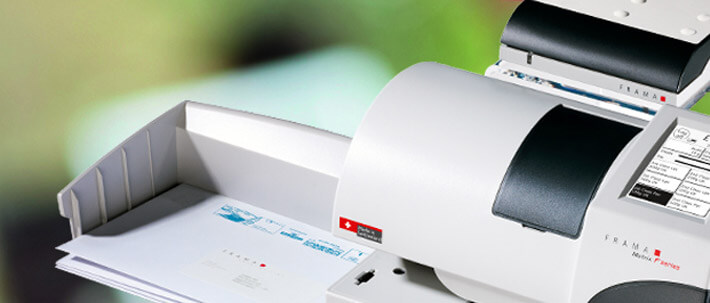
The key features on a franking machine are:
Control panel – this is what you use to choose settings, manage your account and add extras such as a promotional message.
Scales – where you will weigh your mail, this could be internal, an add-on or external.
Feed Deck – this is where the letters enter the machine in order to be franked.
Stacker – if using a larger or automatic franking machine this will be the area where the letters are stacked once they have been franked.
Label feed – this is for printing labels when a package or letter is too large to be franked directly onto.
Make sure you take some time to become acquainted with the franking machine so you know which area is responsible for each step.
Ok; the machine is setup, we have mail that needs to be posted, we are ready to begin!
Step 1) The first thing you will need to do is weigh the item on the scales (almost all franking machines have built-in digital weighing scales, if yours doesn’t you can simply connect an external scale), by weighing the mail you are sending you take away the risk of over or underpaying for delivery and you can be sure you are paying the exact amount every time.
Step 2) Once the item has been weighed you need to select what size and service you would like, this is easily done using the control panel. An example of this would be: “Large letter, 1st class”.
Step 3) Many franking machines allow you to add a promotional message and logo onto the envelope so you can add this now using the control panel too. This will appear on the front of the envelope along with the franking mark and is a great way to get some free advertising on every piece of mail you send.
Step 4) The franking machine will then automatically calculate the postage costs (using the discounted franking rates, saving you money). The machine will calculate the lowest possible costs so you don’t have to.
Step 5) You can now frank the mail. This basically means you can put the envelope or label into the machine’s printer slot so that it can be franked with the appropriate information. Some machines are automatic or semi-automatic so you may not have to do this manually, however, most low volume machines are manual.
The franking mark indicates that the postage charges have been paid for already and contains information such as: item price, the date and an identifier name. The envelope should also have your company logo and promotional message on the front if you decided to include one.
Step 6) The next step is sorting your franked mail in accordance to Royal Mail’s requirements. This basically means ensuring size and class separate the mail, bunched and put into a pouch or parcels put into a bag. International services need to be in there own bunch too and special services will need to be kept completely separate to ensure you receive the service you have paid for. Once the mail is properly sorted it is ready to go.
The overall process is time and money saving for businesses who frequently send mail.
Once you have your franked mail you can take it to your local post office to be posted or you can use a business-posting box. You can even post franked mail in a regular post box if you are sending less than 30 letters a day, you must use a special low volume envelope (available from your franking machine supplier) in order to do this.
This is the standard process of franking, it’s not time consuming or complicated and gives you a great, professional result at the end. Remember that individual franking machines differ but this is the general process.